Setting Up Your Blog (version 8/23)
1. Go to www.Wordpress.com
2. Click "Get Started" in the upper-right corner.
3. Enter your JWU email address (or another email address that you check regularly).
4. Create a user name and a password. Make note of both of these, so you can refer back to them later.
5. Click "create your account."
6. Give your site an address (this is called the "domain"). You can call it anything that you like. This name will become part of the web address that others use of visit your page/site.
7. When you enter your address name, beneath it a number of domain name paid plans will appear. Click "select" by the FREE version. There is no cost associated with your page for this class.
8. After you click "select," Wordpress will once again try to encourage you to buy a package. Don't. At the top of the page, you will see, "Choose Your Flavor of Wordpress." Beneath this you will see a number of options. You'll notice "Free (0 dollars no expiration date)"at the left side of the page. Click "start with free."
9. Next, you will see a message pop up: "Don't miss out" and they'll once again attempt to get you to buy a paid subscription. Don't. Click "Continue with free" in the bottom right corner of the pop up.
10. Next, you will see a message, "Welcome, what are your goals?" Select "write and publish" and then click "continue."
11. Next, you'll be prompted to give your blog a title and tagline. If you are taking ENG 1020, call it "My ENG 1020 Blog." If you are taking ENG 1021, "My ENG 1021 Blog," etc. Just use the course number in the title. You do not need to enter a tagline. Next, click "continue."
12. Next, you'll see a message, "Nice job! Now it's time to get creative." The only step you need to currently complete here is "choose a design," so click "view designs."
13. It's best to keep it simple. SELECT "BIBLIOPHILE". SELECT THIS THEME ONLY. IT'S IMPORTANT THAT YOU DO NOT CHOOSE ANYTHING ELSE. THIS WILL MATTER LATER IN THE TERM.
14. Next it will prompt you to writer your first post. Don't. Simply select "I'm not Ready." This takes you to the home page with the tool bar.
15. THE NEXT PAGE YOU SEE IS VERY IMPORTANT. HERE YOU WILL LAUNCH YOUR BLOG. SIMPLY CLICK "LAUNCH YOUR SITE" IN THE BOTTOM LEFT CORNER. IF YOU DO NOT COMPLETE THIS STEP, YOUR SITE IS NOT VISIBLE TO THE PROFESSOR, AND YOU WILL RECEIVE A ZERO FOR EACH BLOG POST SCORE UNTIL THIS IS CORRECTED.
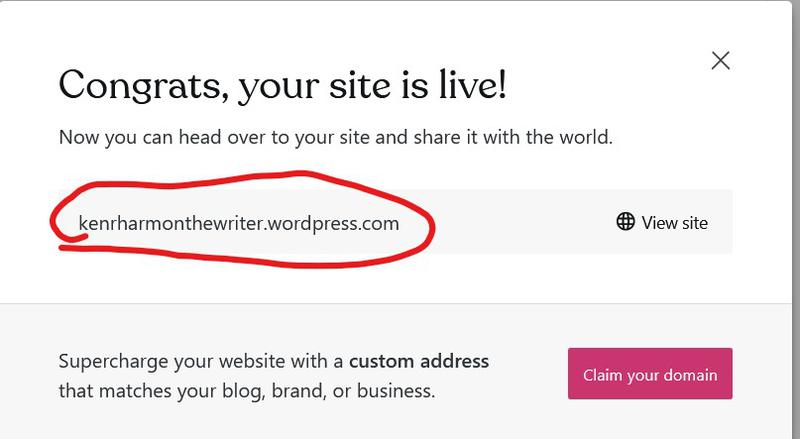
15. Next you will see the following message pop up:
16. BEFORE YOU CLOSE THIS POPUP, COPY AND PASTE THE ADDRESS AND SEND IT TO ME IN AN EMAIL. SEND TO [email protected]
IN THE EMAIL SUBJECT TYPE MY BLOG FOR <INSERT COURSE NAME AND MEETING DAY/TIME>. FOR EXAMPLE: MY BLOG FOR ENG 1020 MW 12:30.
17. AFTER YOU HAVE SENT THE EMAIL, RETURN TO THE POPUP PICTURED ABOVE AND CLICK THE "X" IN THE UPPER-RIGHT CORNER TO CLOSE IT.
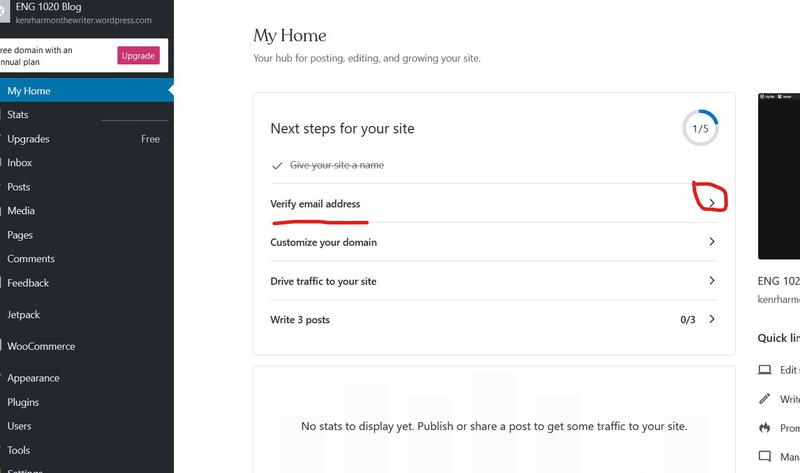
18. AFTER CLOSING THE POPUP, YOU'LL SEE THIS AT THE CENTER OF THE PAGE:
19. NEXT, YOU MUST VERIFY YOUR EMAIL ADDRESS. GO TO THE EMAIL ACCOUNT THAT YOU USED TO SET UP YOUR ACCOUNT. YOU WILL HAVE AN EMAIL THERE THAT YOU WILL NEED TO USE TO CONFIRM YOUR ACCOUNT.
20. OPEN UP THE EMAIL AND CLICK "CONFIRM YOUR EMAIL." YOU WILL BE LOGGED OUT, BUT YOUR ACCOUNT WILL BE READY TO GO.
21. IF WE DID A FREEWRITE DURING THE FIRST CLASS MEETING, ADD THIS TO YOUR BLOG AS YOUR FIRST POST.